On the Joy of Being a Hero

A couple of Snake Stories
and a delicious recipe for Red Velvet Cookies (sans red food coloring)

A few days ago, my husband and I were with some friends in the parking lot of a restaurant when we saw a small well dressed group of people looking excitedly at the ground. We got closer and saw they were looking at a tiny snake and were concerned that either a bird would get it or it would get run over by a car.

As they were debating about how to rescue it, one of the men pulled a pair of pliers out of his pocket and bent to pick it up to, presumably, move it to safety. I couldn’t believe my eyes! How could picking up a snake of maybe 12-14 inches with a pair of pliers be a good thing?

Who carries around a pair of pliers in their pockets, anyway?
“Maybe he’s a dentist?” my husband asked hopefully.
What is this? The 14th century? Do dentists whip out pliers at the street corner when someone complains of a toothache and then quickly yank their tooth out?

But I digress. I watched in horror as the pliers neared the beautiful creature though I appreciate the sentiment of trying to safely move an animal without getting yourself killed.

“That’s a sharp-tailed snake,” I said, and swept it up with a pair of fingers,  walked over to the side of the road and put it in a hedge.

“Look at you, picking up the snake,” one of the ladies in the group said, half admiringly. I realized I should have thought about this and come up with a better way of not outshining the gentleman who was trying to do a  good deed. What if he was on a first date and trying to impress the woman? But I wasn’t really thinking, and sharp-tailed snakes are somewhat common where we live.

For some time now, I have had this dream of sweeping in and rescuing a screaming crowd from a snake attack. As a librarian, oft have I had to step in and break up fights, eject library villains, deflect miscreants, and so on. But most of these incidents just leave a nasty taste behind and rarely result in any glory. So I guess I keep hoping for that big moment on the spotlight.But since I am not particularly athletic, I can’t see myself outrunning a purse snatcher, diving into cold water to rescue a drowning lad, or prying a person out of the jaws of a crocodile (though I know now, you go for the nose, not the eyes). A snake just seems a manageable fiend, especially since I have had so much experience with them, and since there are so many people that are terrified of them.

My husband has always been a big fan of snakes. He is constantly picking up snakes and bringing them in the house. When the children were little he would  let them touch snakes so often, that I was actually a little concerned that here, in California in rattlesnake country, the kids would not have any healthy fear of even venomous snakes and could get bitten.

But our children are both safely grown up now and fully understand, respect, and actually like snakes (well maybe our daughter more than our son). Over the years we have had many fun experiences with snakes, but some stories stick with me better than others.

Once when our children’s elementary school was having a picnic at a park, a large snake was spotted in the grass nearby. It was a snake about 4 or 5 feet long. Panic ensued and children, parents and teachers started screaming and climbing up on benches and tables. My husband did not hesitate. He leapt over a table, picked up the snake (which he recognized as not venomous), swung it around over his head like Indiana Jones (this I am just imaging), and tossed it into the bushes. He had saved the day!

I, unfortunately, was not at this picnic, but for the rest of the year, I heard about this swashbuckling rescue over and over again. It was wonderful for the children!  And for me too.

I want to be that kind of hero too. After my parking lot snake incident was over, I was kind of disappointed at having lost my chance at derring-do.

Adoring crowds after the incident – 0
Number of videos of me rescuing the snake – 0
Number of videos of me disposing of a snake with my bare-hands that got posted on social media – 0
Number of opportunities to bask in glory missed – 1

However, I did my heroic deed today – by trying to invent a good recipe for Red Velvet Cake that does not use that awful artificial red food coloring. For people who are allergic, or detest, the red food color, I think I could be a hero.

As always – my cooking is about healthy options. I used roasted beets for the red color as beets turn a  gorgeous deep red when they are roasted. Wrap the beets individually in foil and roast in an 375° oven for 40-60 minutes depending on the size of the beets. When they cool a little, rub the outer skins off and then mash or blend in a blender to get a smooth deep red paste.


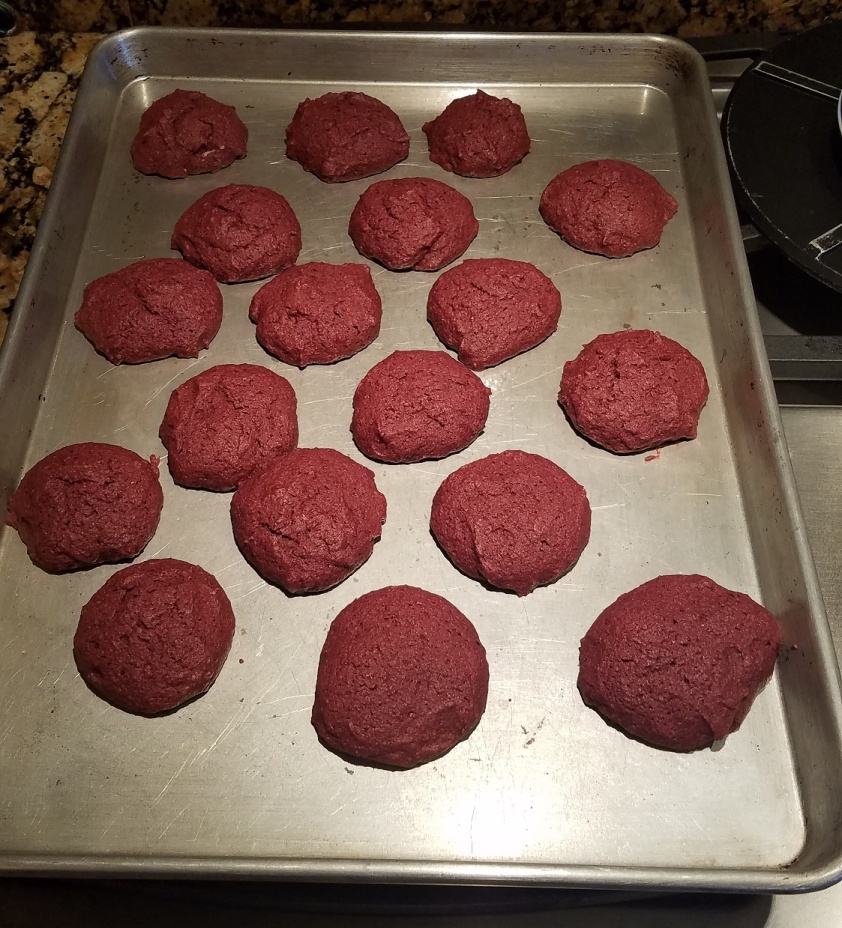
My cookies are not the electric red of store bought Red Velvet Cakes, they are a dull red, but they are definitely much more delicious. The cookies have slight cake-like texture.

Since I always cook with a diabetes diet in mind, I used very little frosting on the cookies.

Please credit me and/or my blog, if you share/publish/use this recipe. Thanks!

RED VELVET COOKIES

Ingredients
1/2  cup roasted and finely mashed red beets (2 large or 3-4 small red beets)
1 tablespoon cornstarch

1 1/4  cup unbleached white flour
2/3 cup whole wheat flour
1/3 cup cocoa powder – unsweetened
1/2 tsp baking powder
1/4 tsp salt

1/2 cup unsalted butter
1 1/4 cup sugar
2 eggs

1 tsp pure vanilla

Cream Cheese frosting
Blend together:
4 ounces cream cheese (1/2 packet)
1/4 cup unsalted butter – pre-softened (1/2 stick)
1 1/2 cups powdered sugar
1 tsp pure vanilla

Crushed walnuts (optional)

Preheat the oven to 350°.
Grease your cookie sheets.

Stir together the mashed roasted beets and cornstarch.

Sift together the flours, cocoa powder, baking powder and salt.

Beat the butter and sugar until light.
Add the eggs and continue to beat till pale yellow  and light.
Add the beets and beat for a  few seconds till just mixed in.
Mix in the dry ingredients and then spoon into 1 inch balls on the greased baking sheets.
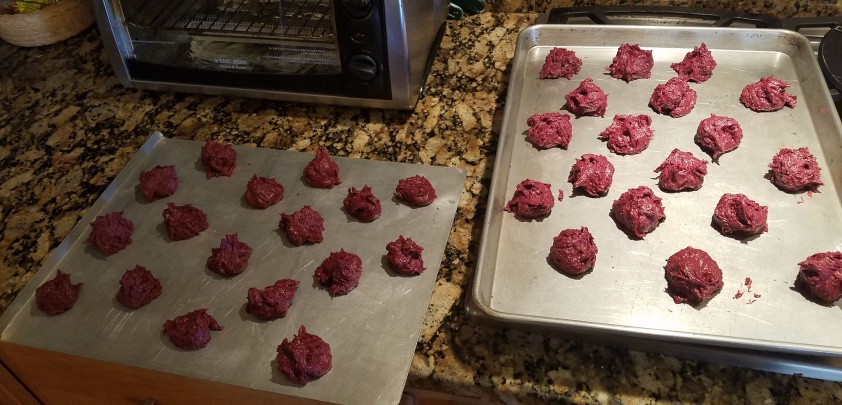
Cookies1

Bake for 18-20 minutes.

Cookies2

Cool and decorate with cream cheese frosting and sprinkle crushed walnuts on the top (optional).
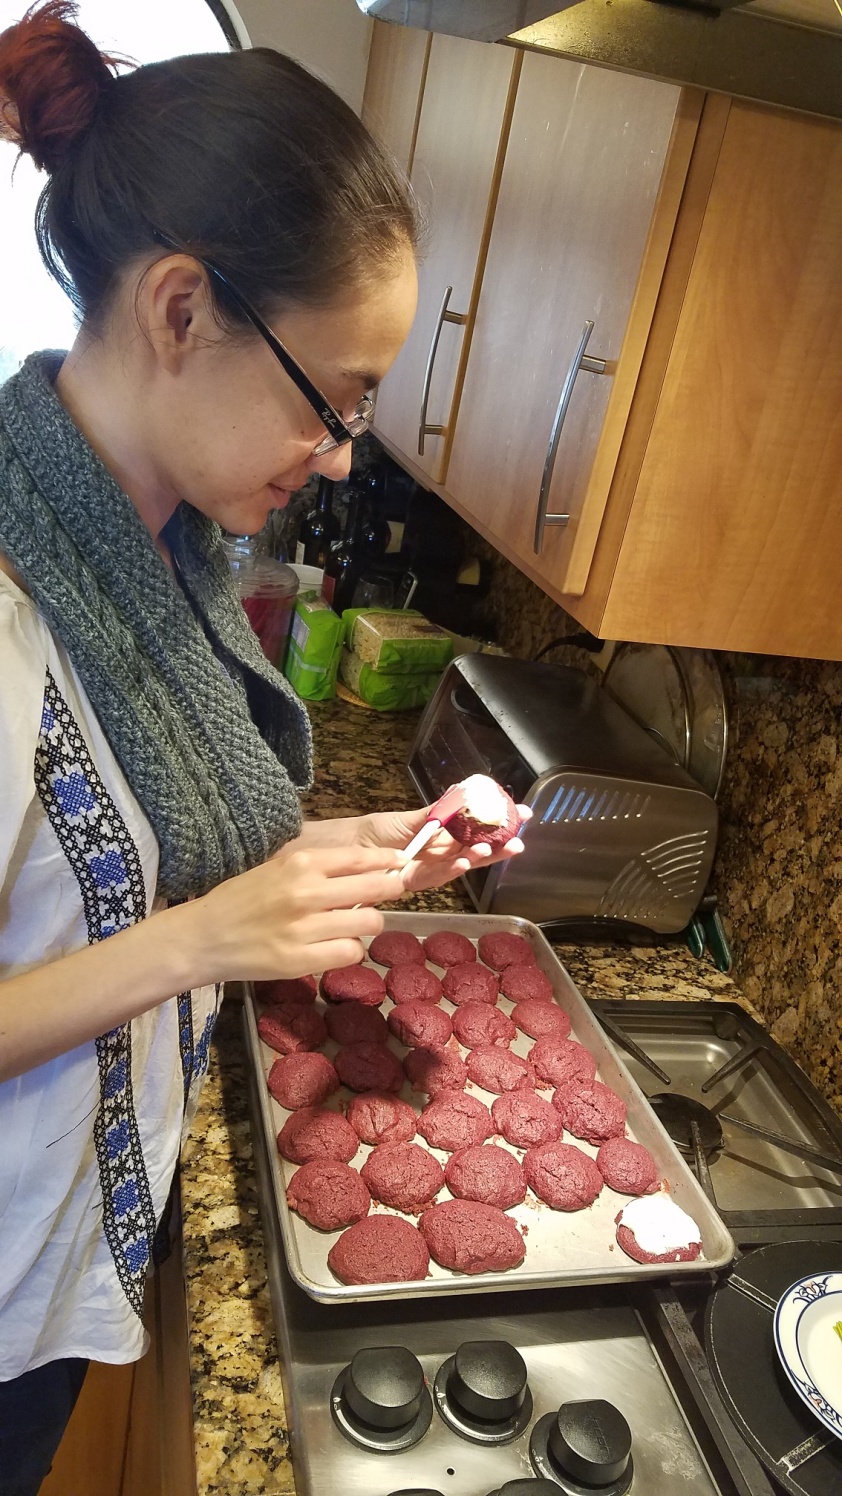
Frosting1

Please credit me and/or my blog, if you share/publish/use this recipe. Thanks!

Sharing good times and recipes

Having common interests is not so much the basis of a successful relationship as having things you do and enjoy together. For my spouse and me, travel and food are among the things we enjoy sharing the most. We will pretty much go anywhere and try most any food – cooking it or eating it – as a couple. And though I know I can sometimes get a little competitive in my cooking (if my husband cooks something I usually cook and does better than I would!), cooking is one of the most relaxing activities for me.

I also always challenge myself to take common recipes and to make as healthy a version of them as I can by reducing fats and adding whole grains, vegetables, etc. Usually keeping my son’s Type 1 diabetes in mind.

So when I heard my sister Ranjana raving about my sister Nandini’s “Shrimp with Kaffir Lime Leaves”, I had to find out more. Nandini is an amazing cook, and cooks really fast too. She often cooks unusual and complicated Indian dishes that are completely beyond me. But this recipe sounded easy and quick, which, for me, is how cooking should be, if at all possible. Plus I adore the smell of kaffir lime leaves in food.

My husband and I were planning a quick trip to visit our son at the university where he is a PhD student. I always carry food when we visit our children, and listening to Nandini describing the recipe to me over the phone, it sounded as if we had all the necessary ingredients at home and I decided to try this recipe out. We also had all kinds of squashes and chili peppers growing in our garden. I love cooking Thai pumpkin curry so I decided to merge the recipe and our home grown vegetables.Needless to say, our son, who usually sees us arriving with cookies and other dry comestibles, was extremely pleased when I handed the container of fragrant food  to him.

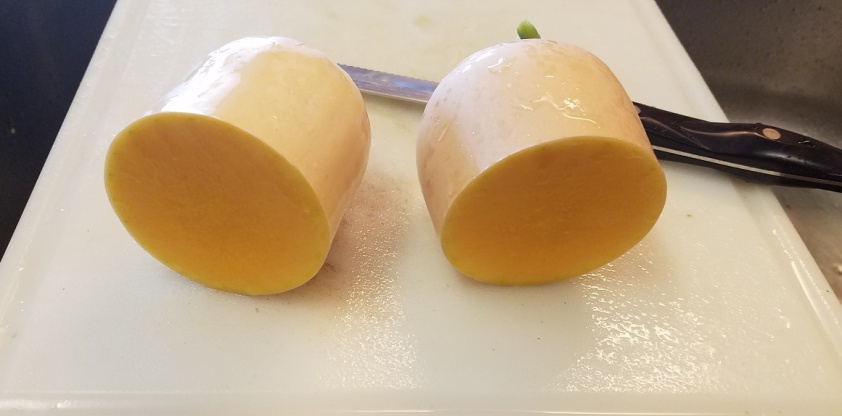
butternut-squash

I am sure most Thai people would object to my calling this a Thai recipe, but I think the look and taste were close enough that I will call it

“Thai Style Pumpkin Curry with Shrimp”

Ingredients:

2 lbs shrimp cleaned, washed and drained
2 ½ – 3 cups peeled cubed pumpkin, butternut or acorn squash
¾ -1 cup red, yellow or orange bell pepper cut into ½” slices
½ cup sweet onion cut into ½” slices
3 cloves garlic finely grated
2 tsp salt divided or to taste
2-3 tsp brown sugar or to taste
½ -1 tsp red pepper
½ tsp turmeric powder
10-12 Kaffir lime leaves
2-3 thick chili peppers seeded and sliced lengthwise – jalapeño or serrano
1 can 14 oz coconut milk (unsweetened)
3 oz (1/2 small can) tomato paste
3 TBS canola oil or some other vegetable/peanut oil

Add the garlic, red pepper, turmeric and 1 tsp salt to the shrimp. Mix well and set aside.

Mix the coconut milk and tomato paste well together. Set aside

Bring 1 cup of water to boil in a sauce pan. Add the pumpkin and 3-4 TBS of the coconut-tomato paste. Stir well and bring back to a boil. Cover and cook on medium heat for about 5 minutes till the pumpkin is barely cooked but not soft. Set aside.

Heat the oil on high heat in a large flat bottomed nonstick pan.
Add the shrimp and sauté on high till the shrimp turns opaque and starts getting golden along the edges.
Add the onion and bell pepper and continue to stir and sauté for about 2 minutes.
Reduce heat to medium.
Add the coconut milk-tomato mixture, the chili pepper slices, and the pumpkin in its sauce to the pan.
Add the sugar (if used) and the remaining alt and stir well. Bring back to a boil.
Cover and cook on medium heat for another 5-6 minutes or till the vegetables are cooked but not soggy. Stir occasionally and make sure it is not sticking to the bottom or burning.  Add a little water if necessary.
Add the kaffir lime leaves, stir and take off from the heat. Cover and let sit for about 5 minutes before serving.

pumpkin-curry-with-shrimp


Delicious!

Good food is a vital part of the good life.

Good food is a vital part of the good life – What are parents of diabetic children to do?

One challenge that faces all parents of Type 1 Diabetics is how to feed your kids in a way that balances nutrition and taste. Of course, this is always a challenge for parents, particularly if you have fussy eaters at home. We were among the lucky: our children were always gracious about trying new things and eating everything with the rest of the family at home or when we went out, no matter how unusual the dishes were.

So when our son was diagnosed with Type 1 Diabetes (T1D), or Juvenile Diabetes or Insulin Dependent Diabetes, it was a shock for us on many levels. The first shock we received was right in the ER as our doctor shared the diagnosis with us. Our 5-year old daughter, who was also in the room, was the first one to comment . She very matter-of-factly and with great seriousness said, “He will have to eat snacks regularly now.”  We all looked at her in amazement.  “You are right,” said our doctor.  “He will have to eat snacks regularly through the day to maintain even blood-sugar levels.” We didn’t even know she knew what diabetes was! It turns out one of her classmates also had juvenile diabetes.

Frankly, till that point I had had very little interest in diabetes, and only thought of it as a disease that some people got later in life or sometimes due to poor eating habits. So when our son was taken ill and hospitalized it was an eye-opening and highly traumatic week for the entire family. But more about that experience another day.

We had to learn very quickly about checking blood sugar levels, administering insulin, and “counting carbs.” Carbohydrates became our draconian taskmaster. The confusing instructions the doctors at Stanford had given us didn’t help one bit. Maybe they were trying to simplify things for parents, but all their talk of “choices” and serving sizes, and about balancing fast-acting and slow-acting insulin with the recommended amounts of insulin with carbohydrate intake and exercise, had us reeling.

I remember with deep chagrin that first meal we gave our son when he came home from the hospital. We forced him to down this ridiculous amount of Kraft macaroni and cheese because it was on the doctors’ list of carbohydrates that were premeasured and met the recommended carbohydrate intake to balance the insulin plan the doctors had charted out for him. He gamely ate it all. As I said, our children were always good and polite eaters.

I realize that this was wrong on so many levels, not the least being the fact that this was a boy with a very sophisticated palate who rarely ate boxed macaroni and cheese at home, and definitely not when he was feeling crummy or definitely not as a celebration on coming home alive after a close call with serious ketoacidosis.

As time went by, we became adept at measuring carbohydrate content and balancing fast-acting carbs and slow-acting carbs. Nowadays nutritionists talk about the glycemic index, which I like better. We became very good at weighing the amount of food our son was eating and adjusting the amount of insulin he was taking, as opposed to using recommended serving sizes, or reading labels and forcing food into him to match food intake with a preplanned insulin amount. (This is an oversimplified description of the process, but basically we changed how we focused on managing the balancing act.)

Since we cook a lot at home, after we returned from that fateful trip to the emergency room and hospital, we gradually became very good at monitoring the carbohydrate content of the ingredients we use. Carbs, we realized, were almost everywhere, not just in sweet foods. We became aware of the importance of protein and fiber in balancing carb content and slowing their absorption. We also made ourselves the promise that we were not going force our son into giving up all the delicious foods we were so fond of cooking and eating. We would find a way to make them more compatible with his diet, make them delicious, and the whole family would continue to eat the same foods together as we had always done.

To this day, even though our son is no longer living at home, we continue to make “healthy”versions of everything we eat at home. We use whole grain and high fiber choices. We reduce the added sugar. We add proteins and nuts to many of our standard recipes. We use healthy fats. Almost always with excellent results.

My now grown up daughter’s husband often teases me about my touting my preparations as “healthy”, but they are, in my not so humble opinion, always healthier, or less unhealthy, than the version you would get elsewhere. So I think it is fair to call them healthy. 

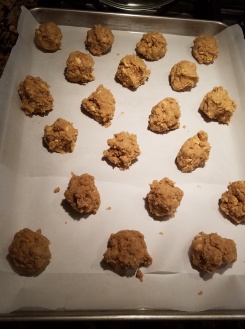
Here then is my recipe for a cookie that is based on one I found on the Werther’s site. I experimented with it and have come up with this cookie, which I admit is high in sugar ( you can use a sugar substitute if you wish), but it is an example of the delicious and “healthy” cookies I love to invent.  Your challenge is to stay within a healthy serving size!

20160814_163943

Jayanti’s Sweet and Salty Butterscotch Cookies

Ingredients
1½ cups all-purpose unbleached flour
1½ cups whole wheat flour (you can adjust the ratio using more whole wheat and less white flour. I also often replace ¼ cup flour with wheat germ, or replace 1/8 cup with flaxseed, etc.)
1 tsp baking powder
½ tsp salt
1 cup unsalted butter (at room temperature)
2 eggs (at room temperature)
1½ cup light brown sugar (Feel free to use a sugar substitute of you prefer)
1½ teaspoon pure vanilla
45-50 Werther’s hard candies or  9-10 oz (250 gms) of any hard butterscotch candy including sugarfree varieties, roughly crushed (I unwrap the candies and place them in a plastic bag, and use a meat tenderizer mallet very easily and effectively, without powdering the candies too much.)
1 cup dry-roasted, lightly salted peanuts roughly crushed

Directions
Preheat the oven to 350 F.
Prepare 2 baking trays by lining them with parchment paper. You need the parchment so the candy does not stick to the baking trays.
Sift together the flours, baking powder, and salt.
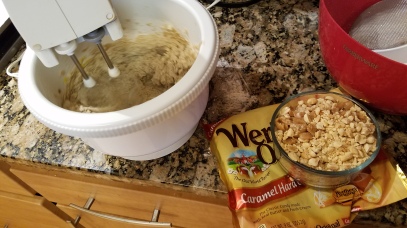
Beat the butter and brown sugar together. When light in color and texture, add the vanilla and eggs and continue beating till light and creamy.

20160811_181440

Add the flour mixture and mix gently.
Add the crushed candy and peanuts. At this point the dough can get pretty stiff so I treat the dough like a bread dough and mix it with my hand, but being careful not to over mix.
Gently roll the dough into rough 1½ inch balls and distribute them on the parchment lined trays. You should have 40-45 cookie balls.
Dough

Bake for 15-18 minutes depending on how brown and firm you want the cookies. (You may wish to switch tray positions after about 12 minutes to get more uniformly baked cookies.)
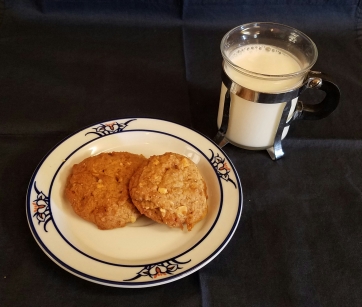
Cool and serve. They are delicious!

20160811_192133

The cookies will be crisp the first day, and get a little softer over the next couple of days. But they continue to be delicious.